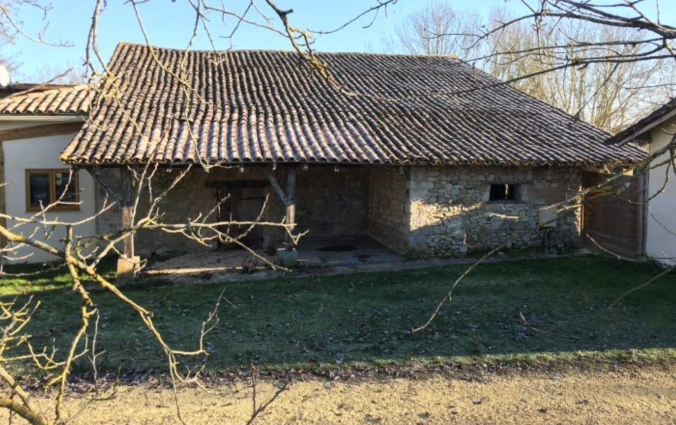
A first, which I always like but this time i need to design as well, Gill normal hands me an idea or picture to work to, this time I need to use colour coordination, textures and different materials as well as actually build it…
My bathroom, what on earth do i want? through our travels and stays what has made me stop, think & smile? what would I like to sit there in the bath and look at, what would I find interesting? Oak is a given I guess but I like dark moody colours, I don’t like bright sanitary finishes, I like themed things, haunted houses, old castles, dimly lit Spas with low lit candles burning..
so I plump for a sort of medievil theme, not so much planned exactly what I want to do but I know the colours I’d like the tiles to be and I want them half way up the wall, the rest of the wall I’ll look for some kind of paint effect that’ll blend with the tiles, no thought given to bath or shower tray other than I want them big so i can move around and that they can take two people 🙂
the bath and tray had to go in a bit quick so we had a bathroom for last year, looking back I should have gone dark grey, but i didn’t have that foresight then unfortunately and installed white, hey ho, a small hick up thats not spoilt things too much.
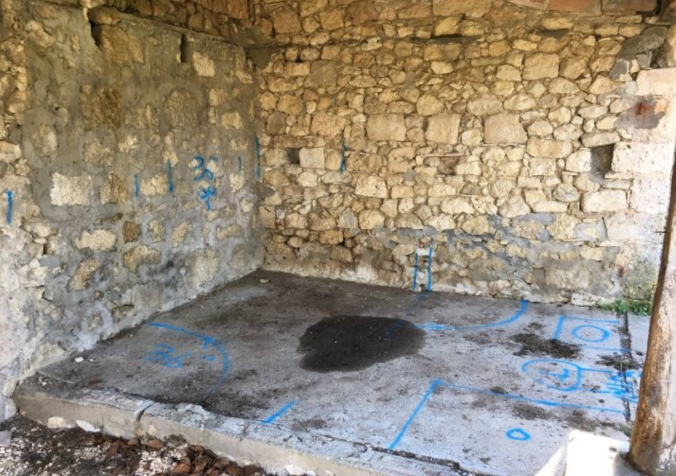
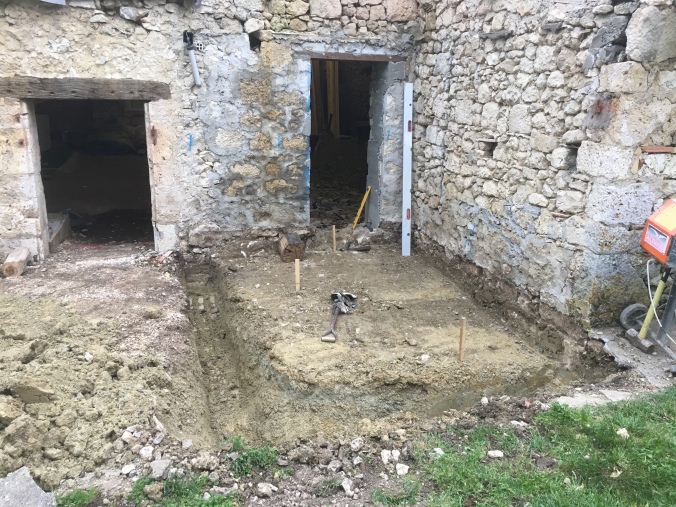
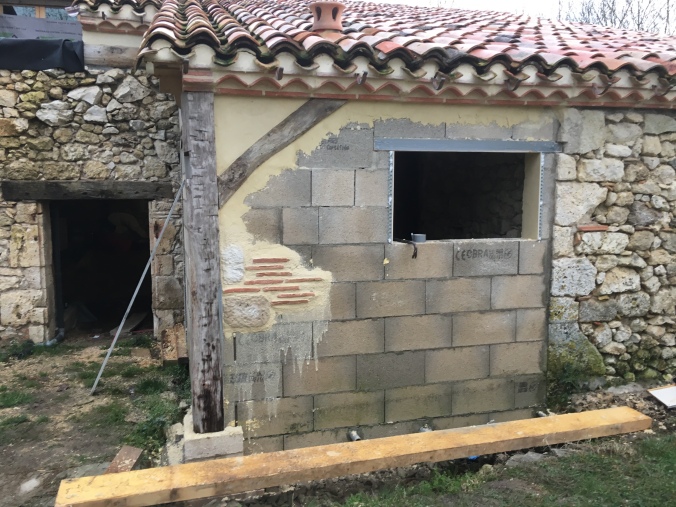
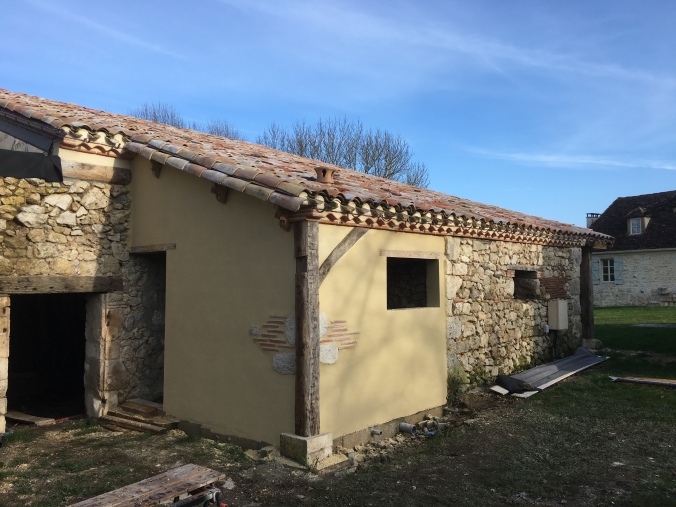
the first pics I have are where we left off last year when it was already a temporary install so no images of the electric underfloor heating going in or the floor tiles so we start with me continuing with the tiles that weren’t finished last year…
first up is a bath panel, tiles are a mottled rusty brown with a sort of leathery texture
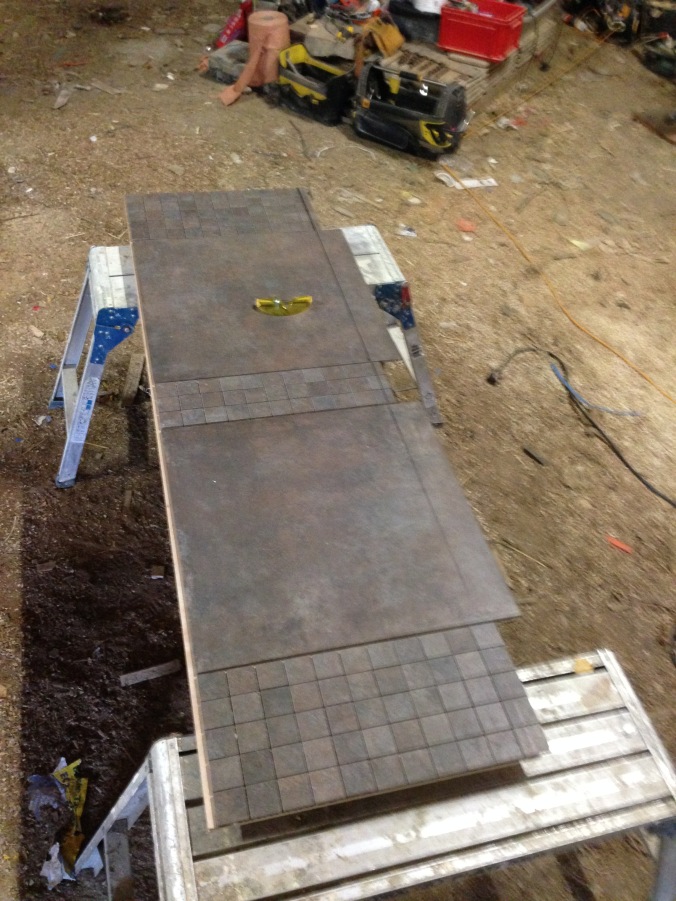
in place, have added some border colour tiles to the edges

grouted in and bath edging seals added round

wall tiles going on, shower enclosure to right, wall tiles then step down after the screen

tiling of walls finished and edging to top added

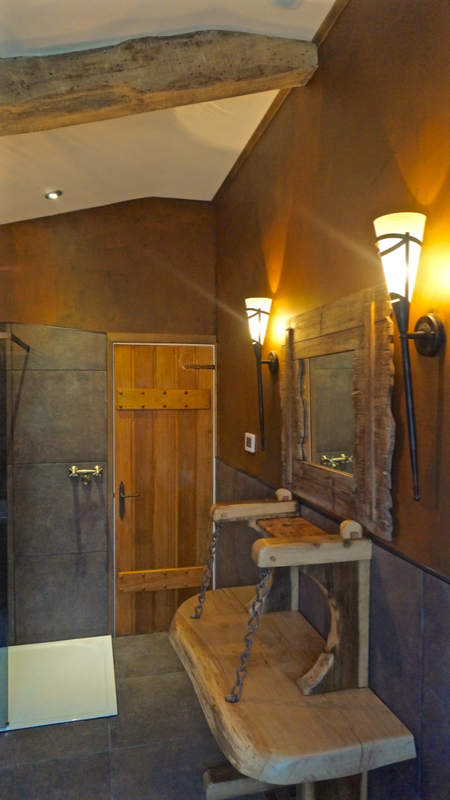
walls painted with a two colour leathery finish, hanging outside light from beam and torch like lights by sink area

anti limescale screen

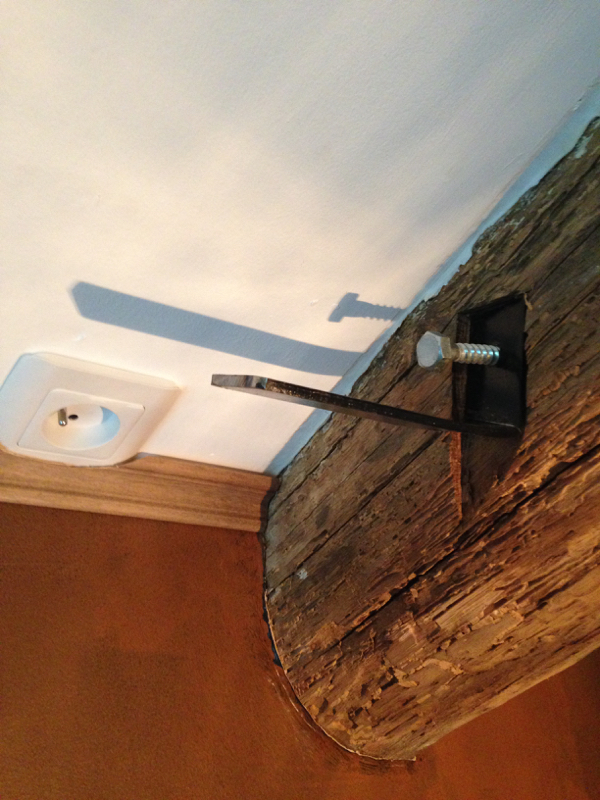
some med oak cornice added to corners where walls meet ceiling, cut out beam to take hanging bracket for Sonos speaker

Bracket made, upside down speaker will plug in neatly to socket so no wires on show
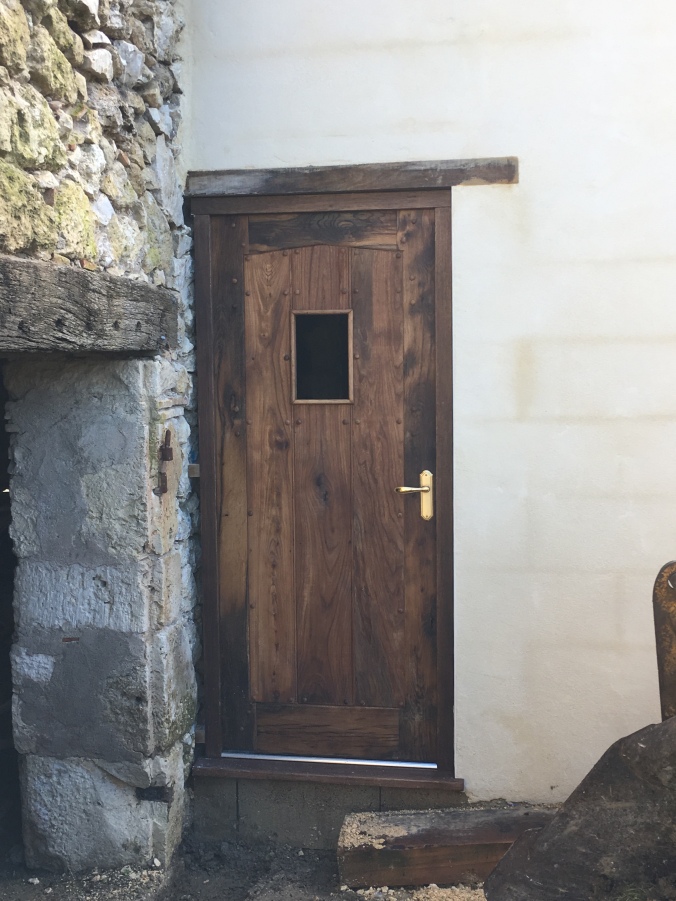
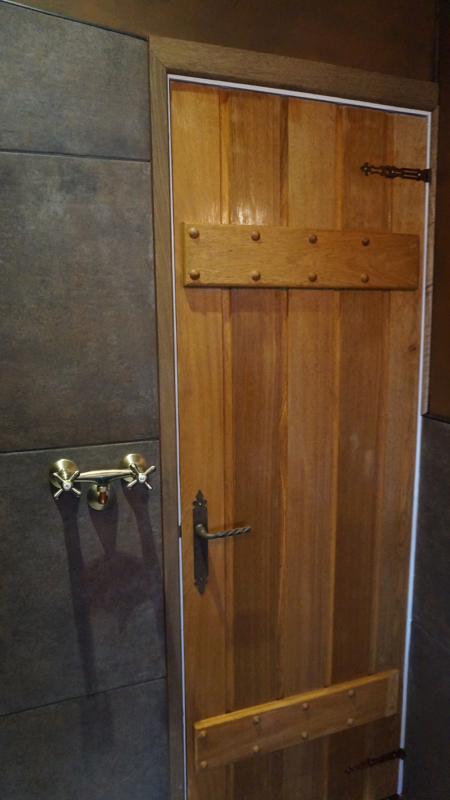
some rather tasty oak ledged and braced doors, hinges sourced in a very unusual shop locally, shower mixer and door handles tie in nicely
awesome mirror i found on recent trip to UK

then I’d like a really different vanity unit so i penned this for a drawbridge look

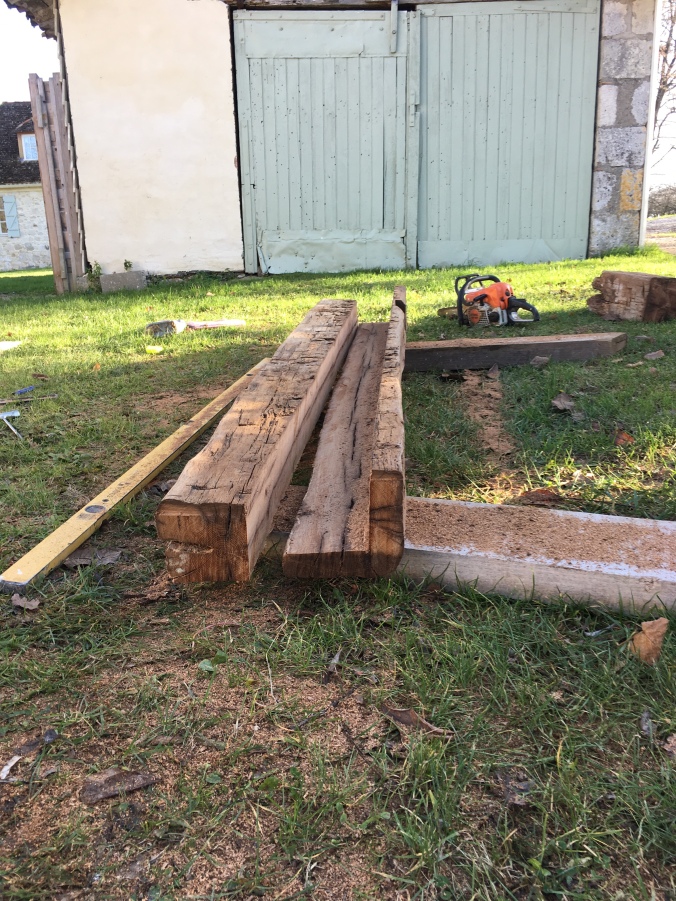
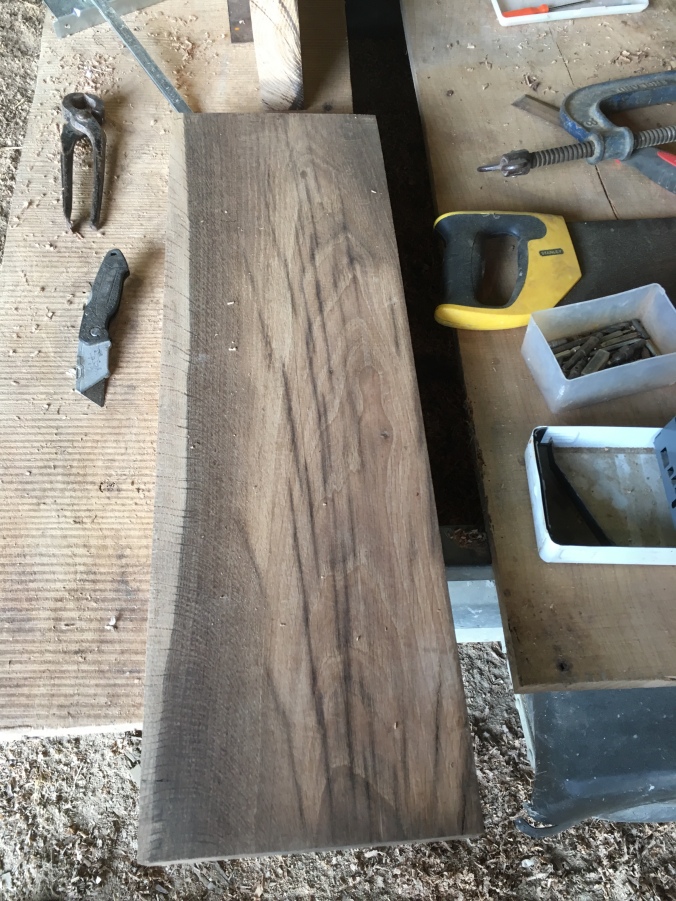
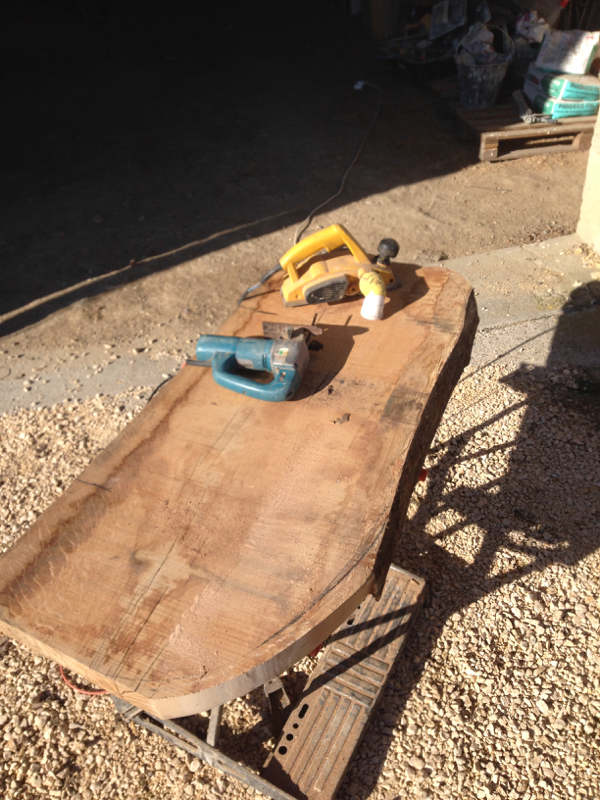
so get busy with the jet wash again after delving into the wood pile once more, i don’t want this to be planed in any way though as i want all the uneven surface, this means an age with a sander to remove the original saw marks
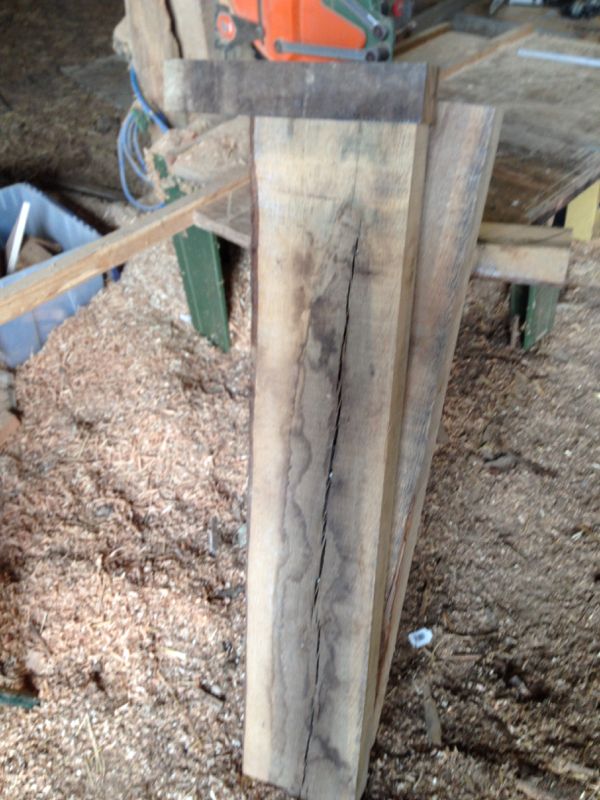
you can see the original saw marks on this piece, they’re deep 😦
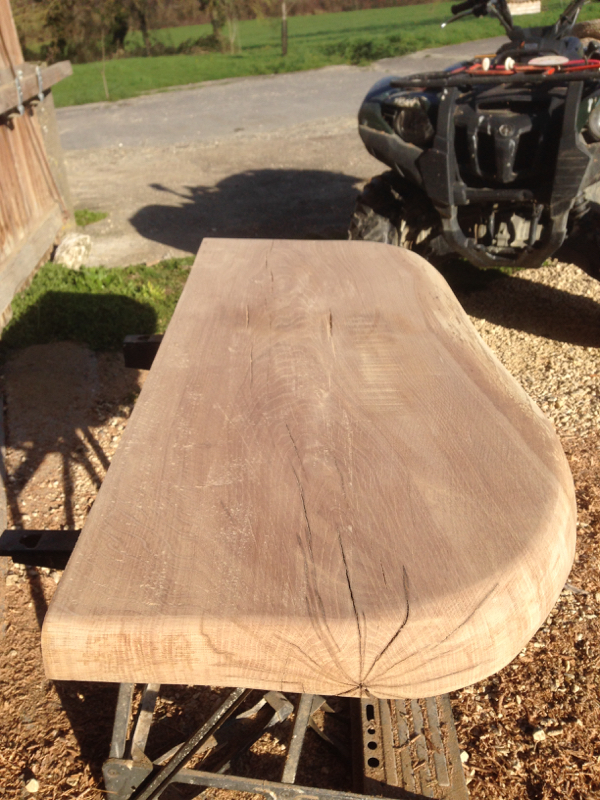
jig saw and 10 blades later & I have the scallop for the top half

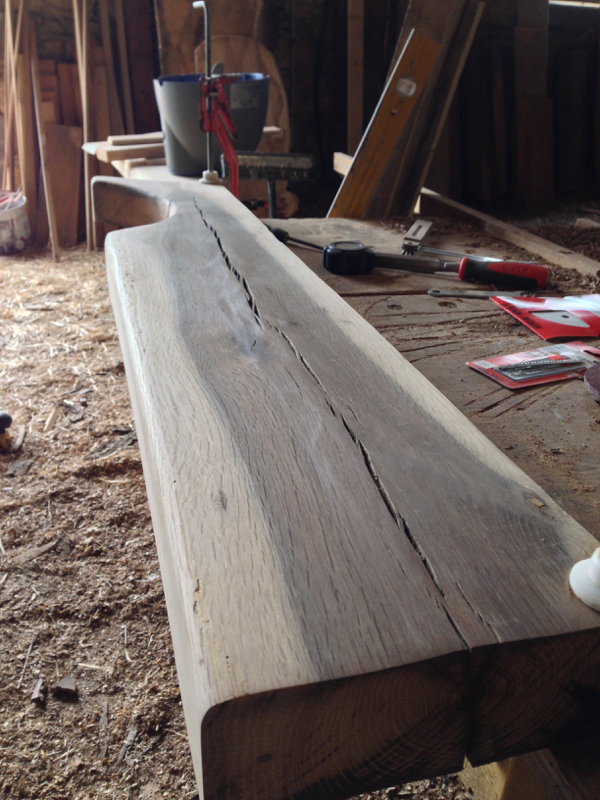
sanded, love the split and the uneven surface
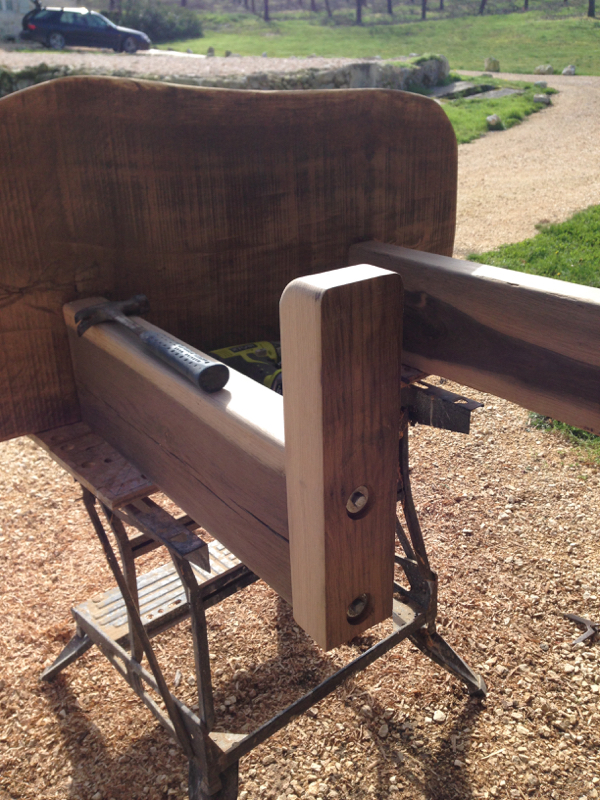
oversize foot added to bottom like the table i made earlier
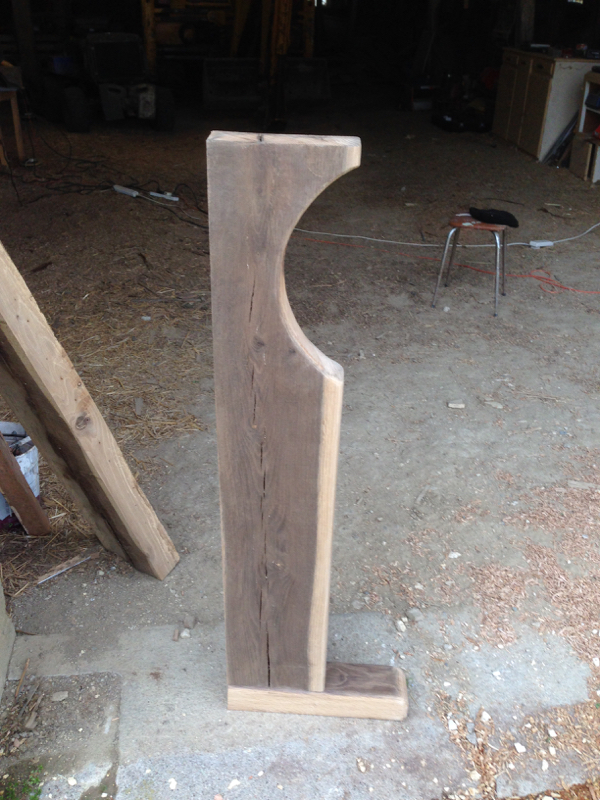
arm added to the top, this will carry the chain that’ll support the sink
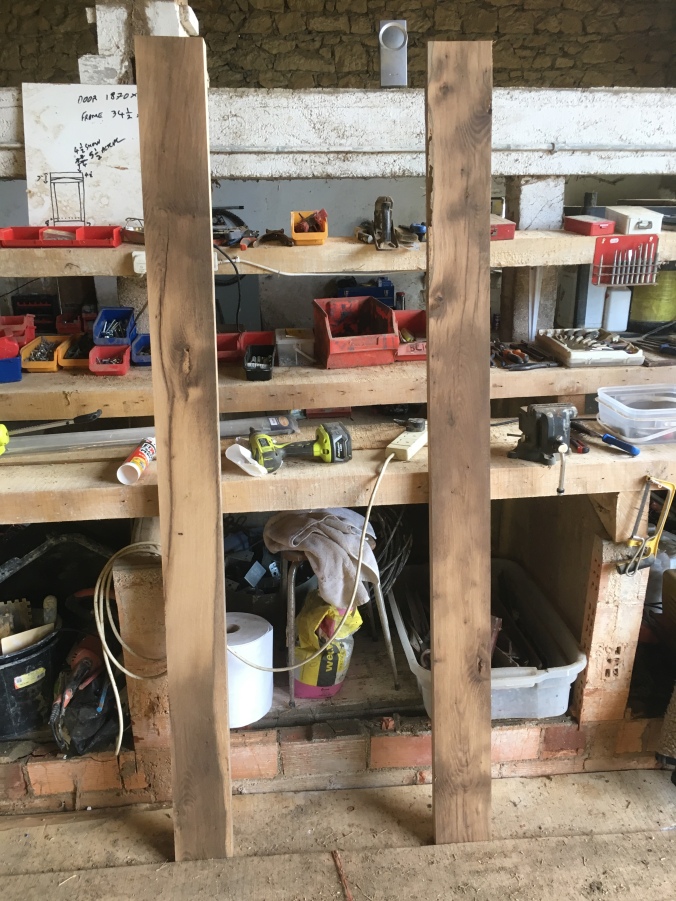
I BOUGHT A PIECE OF OAK! sacrilege 😮 🙂 I needed such a large thick piece for it to work properly, i had no choice, hoping the colour won’t be too far off when finished

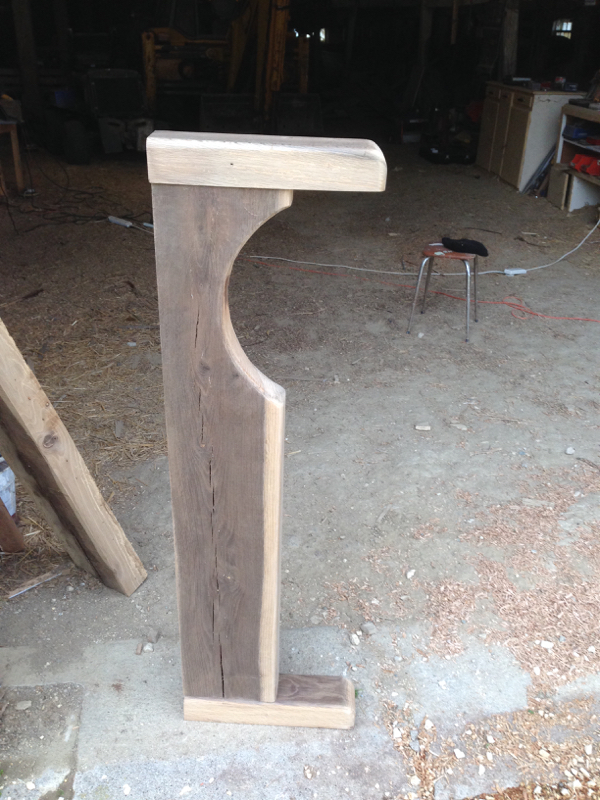
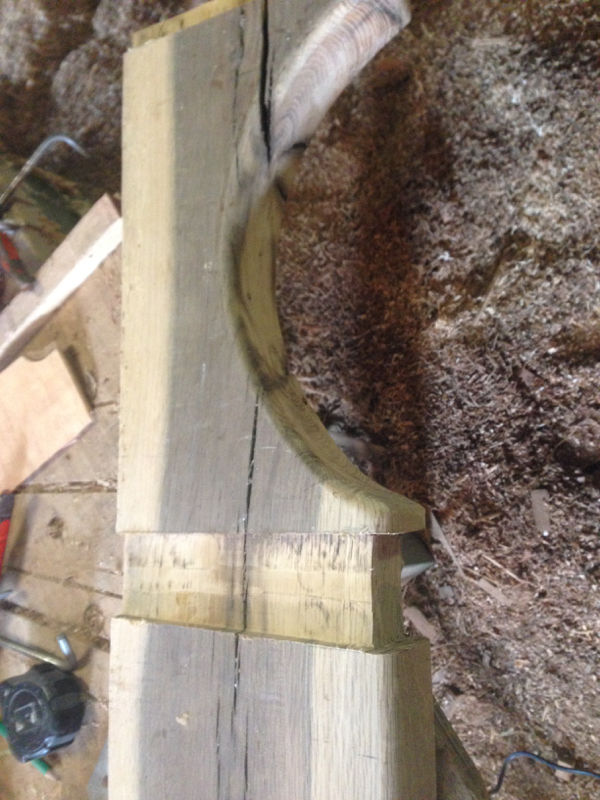
jig saw to rough shape then I used the electric plane to bevel the edge to the desired angle
then sanded to within an inch of its life
then find a suitable top shelf, yum! find a bit of Burr oak! not bothered about missing knots 🙂

rebate out the top of the main leg to take top shelf and profile to meet round edge of shelf

perfik!

getting really excited by the way its coming together, found some old rusty chain at a local hardware store, it has twisted links as well, no idea why but think they look better. hooks to carry chain on end of arms but I’m not sure about these, certainly nice enough for something else if not used.

all laid out; both legs, top & bottom shelves, feet and the arms that’ll take the chain.

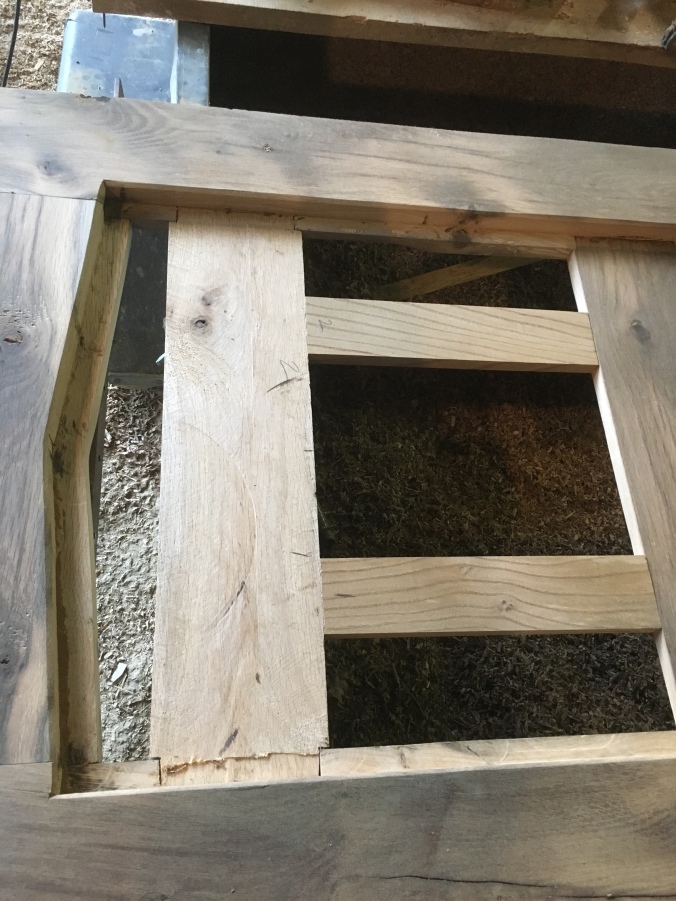
rebate the legs to take main shelf for sink
cut out main shelf
and slide leg in

a really nice fit, super strong and leaves a very clean joint

x 2

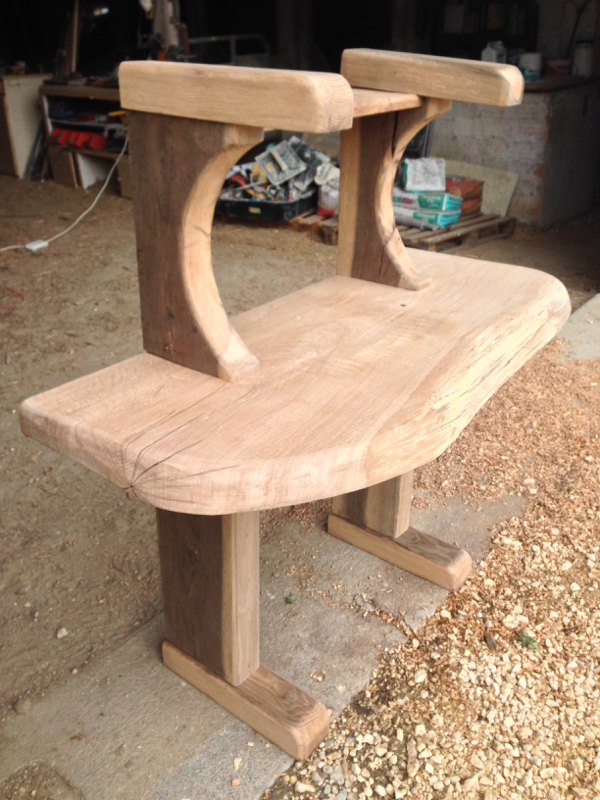
add the feet
now it can stand on its own two feet 😀
I can’t resist balancing the arms in place and adding the shelf to see what it look s like
then I have a brainwave with regard to attaching chain in a way thats a little less twee and more drawbridge.
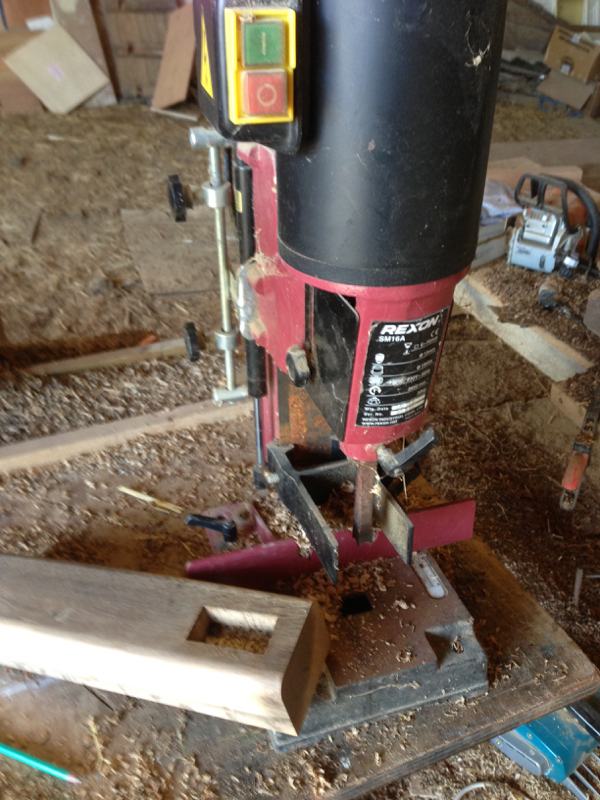
if i mortise the arms from underneath and then drill a hole through side to side I can just poke a link up and the put a wooden peg through to hold it, far more basic and in keeping, at the same time I add some mortises on the top of the arms for tongues and pegs where i’ll attach them to the legs

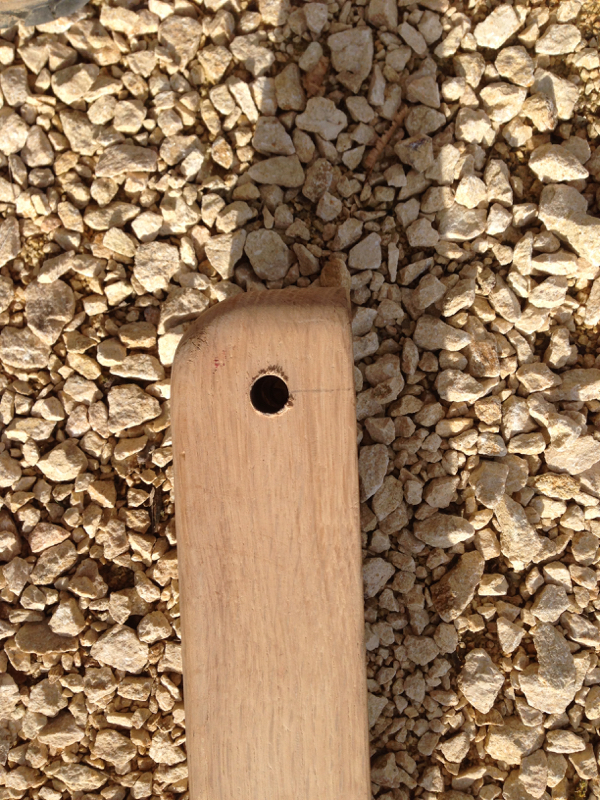


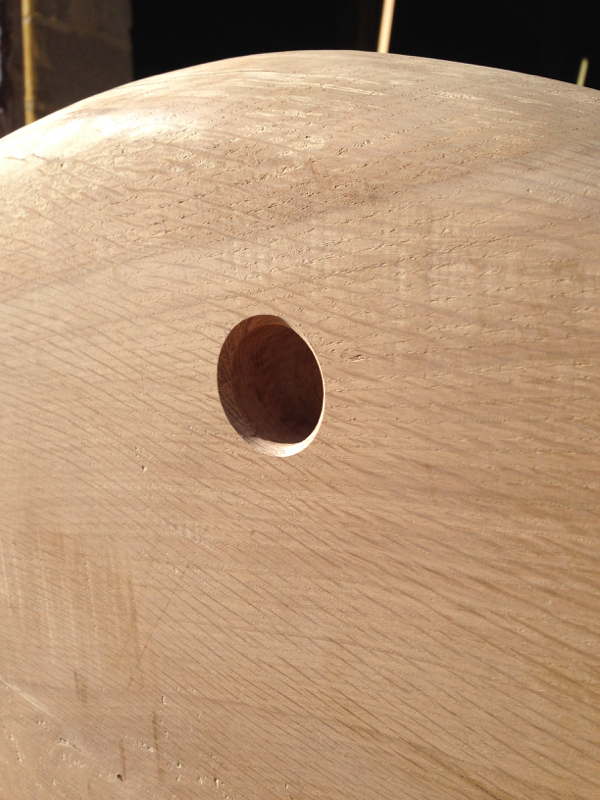
at the other end of the chain where it meets the main shelf I just drill a hole all the way through the shelf and then peg the chain underneath
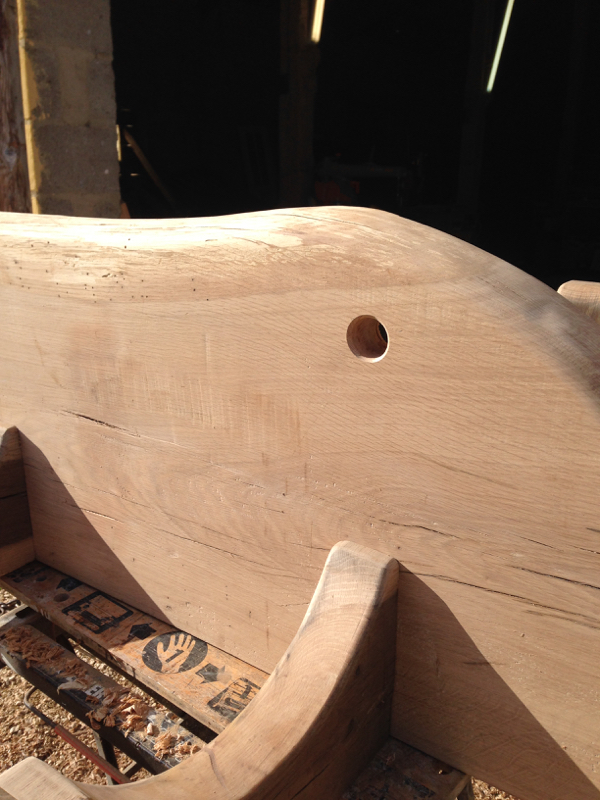
routered a 45º angle to edge of hole as well to finish it
works a treat, tongue and peg added to top of arm to cover bolts that anchor arm to leg, the rusty chain and old oak are a fine combo, i can see this making another appearance somewhere in the barn 😉
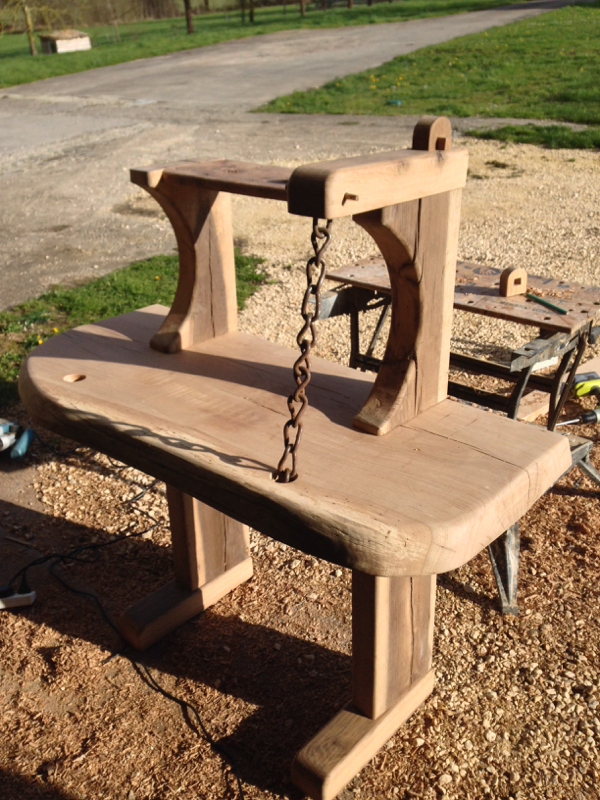
in place but not treated with anything.
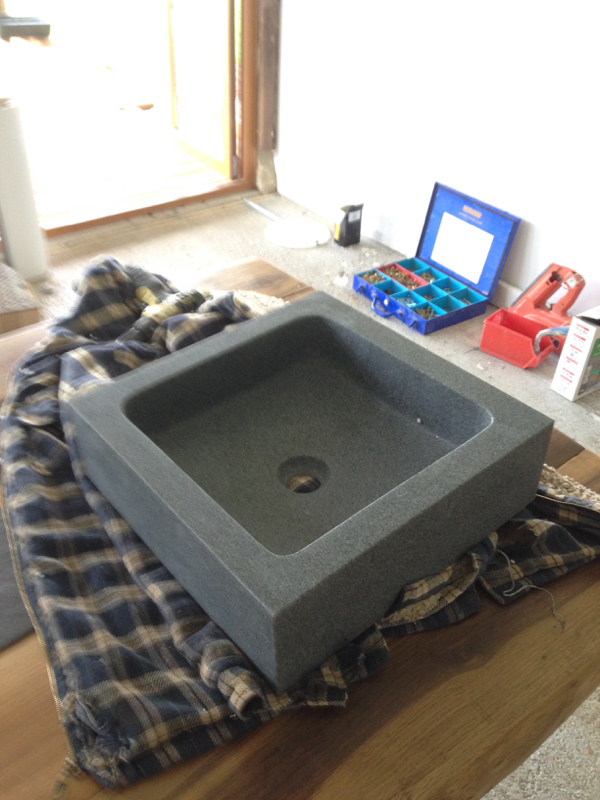
I’m so so happy with it, its exactly what I wanted, trouble is.. the sink I got for it I don’t think does it justice shave sent it back and I have ordered a glass one thats hand painted in fiery colours that match the border tiles, finger crossed it works, if not then I’ll send that one back to.
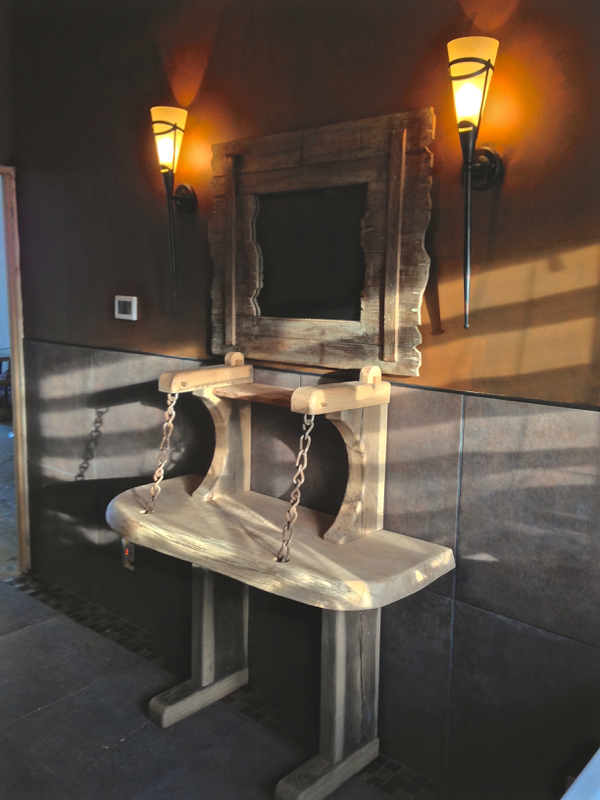


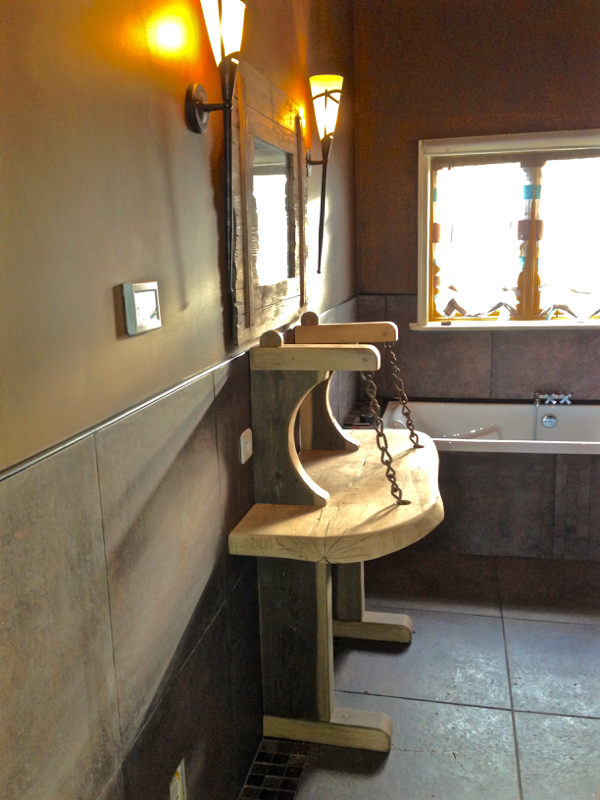
with its finish on, set against the door, lights mirror it really is something I can lie there in the bath, look at and smile in the years to come (if i get the sink right that is)